An emergency fund is the financial safety net you didn’t know you needed—until you do. Whether it’s a car repair, medical bill, or a sudden job loss, emergencies happen. And when they do, having savings can be the difference between peace of mind and financial chaos.
In this article, you’ll learn why an emergency fund is essential, how much to save, and most importantly, how to build one from scratch—even on a tight budget.
What Is an Emergency Fund?
An emergency fund is money set aside for unexpected expenses. It’s not for vacations, gifts, or sales—it’s for:
- Car breakdowns
- Medical emergencies
- Job loss
- Urgent home repairs
- Family emergencies
It protects you from going into debt or relying on credit cards when life throws you a curveball.
How Much Should You Save?
Start with a realistic goal, based on your current situation:
🎯 Short-Term Goal:
$500 to $1,000
Enough to cover most minor emergencies like a flat tire or vet bill.
🎯 Long-Term Goal:
3 to 6 months’ worth of essential expenses
This includes rent/mortgage, groceries, utilities, transportation, and minimum debt payments.
👉 Example: If you need $2,000/month to live, aim for $6,000–$12,000 eventually.
Where Should You Keep It?
Your emergency fund should be:
- Safe (not invested in the stock market)
- Easily accessible (but not too easy)
- Separate from your checking account
Best options:
- High-yield savings account
- Online savings account with no fees
- Money market account (FDIC-insured)
Avoid using cash, and don’t leave it in your main checking account where it’s easy to spend.
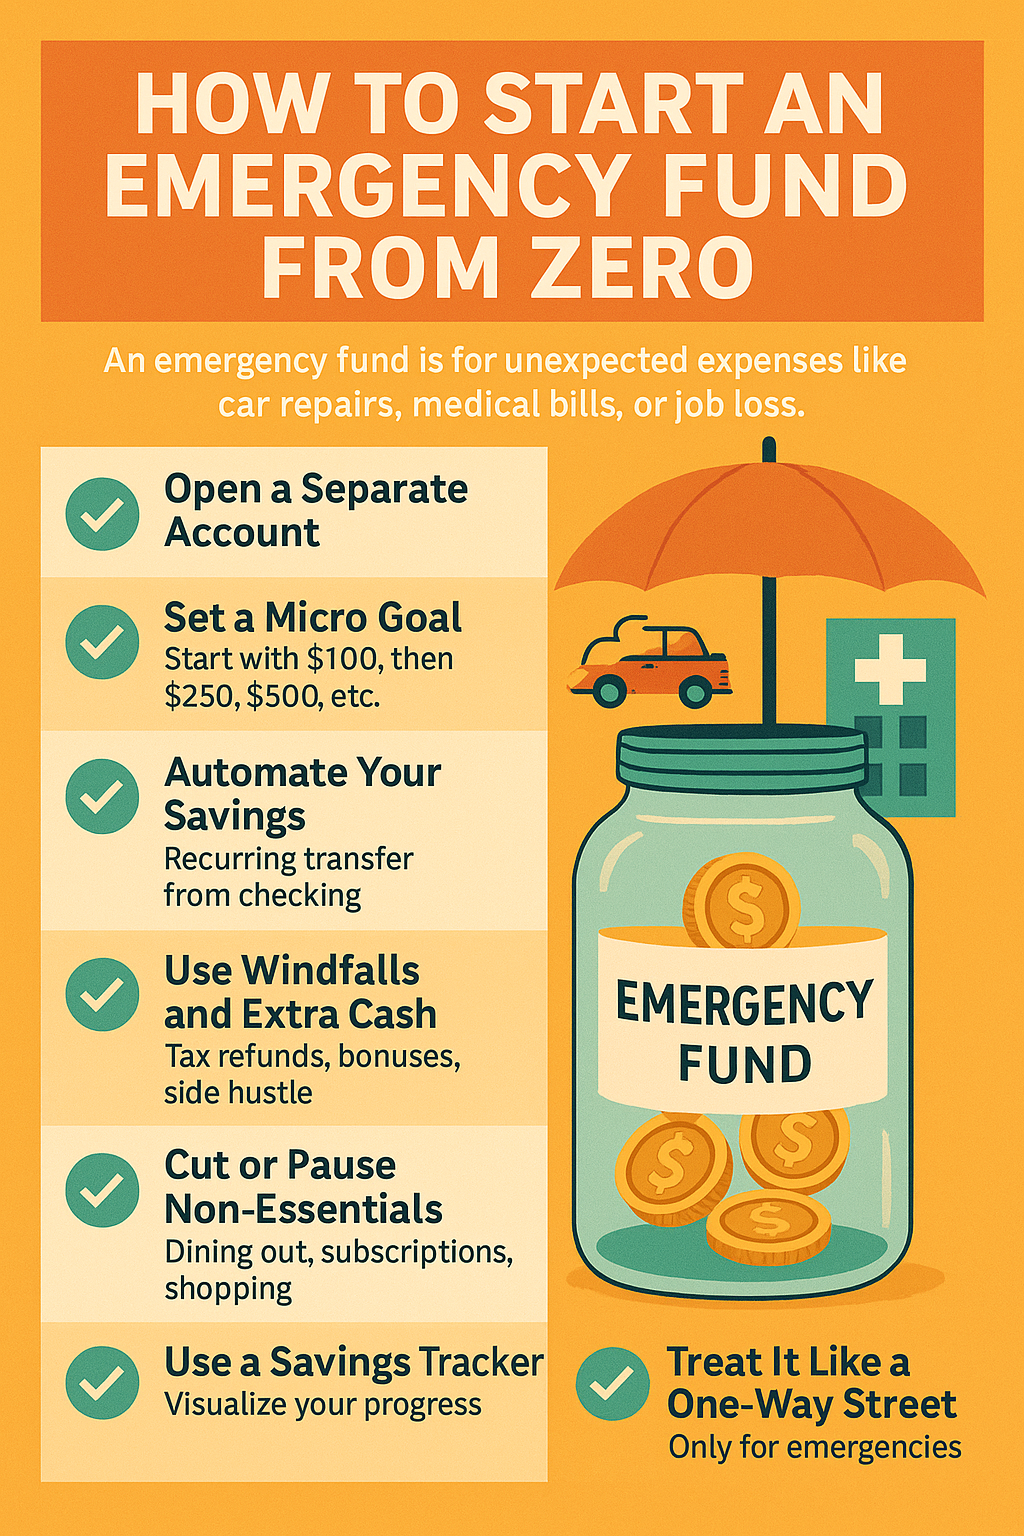
How to Start an Emergency Fund From Zero
✅ Step 1: Open a Separate Account
Create a dedicated account specifically labeled “Emergency Fund.” Having it separate helps you mentally protect the money from everyday spending.
✅ Step 2: Set a Micro Goal
Start with something achievable—like saving your first $100.
Once you hit that, move the goalpost:
- $250
- $500
- $1,000
- One month of expenses
- And so on…
Small wins build momentum.
✅ Step 3: Automate Your Savings
Set up a recurring transfer from checking to savings:
- Weekly: $10–$25
- Bi-weekly: $50 or more
- Monthly: Whatever amount works for your budget
Treat savings like a bill you must pay.
✅ Step 4: Use Windfalls and Extra Cash
Any unexpected money should go straight to your emergency fund:
- Tax refunds
- Birthday or holiday cash
- Bonuses
- Selling unused items
- Cash-back or rewards from apps
Every little bit adds up faster than you think.
✅ Step 5: Cut or Pause Non-Essentials
For a short period, reduce spending in one or two categories:
- Eat out less
- Cancel unused subscriptions
- Skip one coffee shop visit per week
- Pause new clothing or tech purchases
Redirect that money into your fund.
✅ Step 6: Use a Savings Tracker
Track your progress visually—on paper or with an app.
Ideas:
- Printable thermometer chart
- Spreadsheet or savings goal app
- Mobile banking goal tracker
Seeing your progress builds motivation.
✅ Step 7: Treat It Like a One-Way Street
Once your fund starts growing, don’t touch it unless it’s a real emergency. It’s not your travel fund or Amazon budget.
Ask yourself:
“Is this unexpected, urgent, and necessary?”
If not, it’s not an emergency.
Common Mistakes to Avoid
- ❌ Using it for non-emergencies
- ❌ Keeping it in cash or under your mattress
- ❌ Forgetting to rebuild after using it
- ❌ Thinking you need to save everything at once
Final Thoughts: Your Safety Net Starts Today
You don’t need a huge salary to build an emergency fund. You just need a plan, some consistency, and patience.
Start small. Save automatically. Celebrate milestones.
And remember: every dollar saved is a step away from financial stress—and a step closer to financial freedom.